4477 Calienta Street in Hernando Beach, Florida 34607 |
 |
Home # (352)686-0853 AT&T Cell #1 (352)238-9339 Cell #2 (727)460-5748
PROVIDING FUN FAMILY FISHING CHARTERS SINCE MARCH 2001!

Bragging Board from past Inshore Fishing Charters!


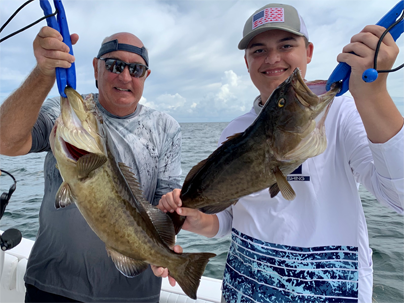
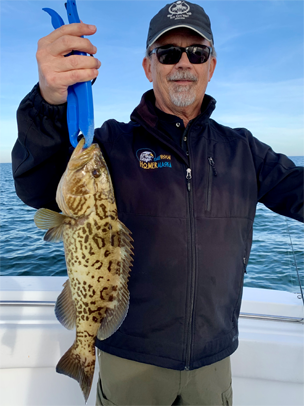
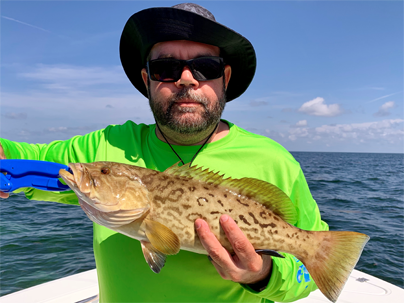
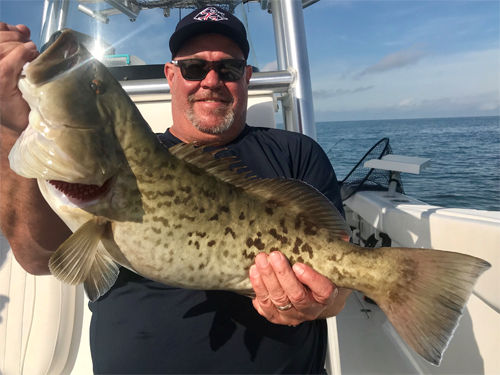
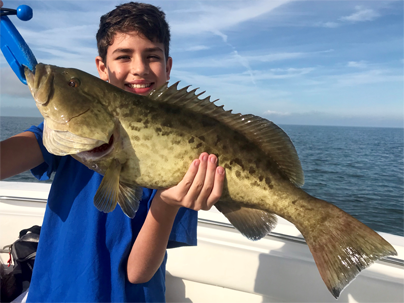
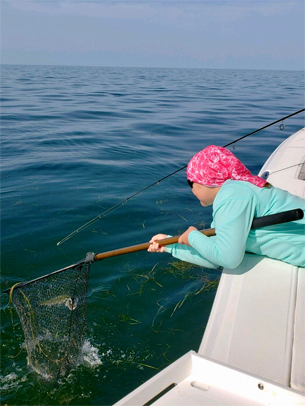
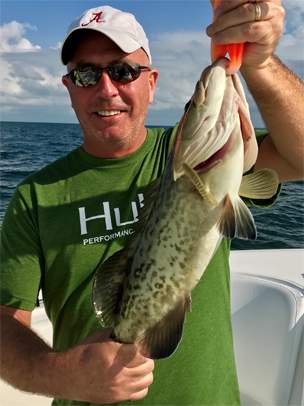
John & company had a really fun day Inshore flats fishing!
Here is just a couple of pictures of their "Keeper" Gag Groupers out of 10' of water!
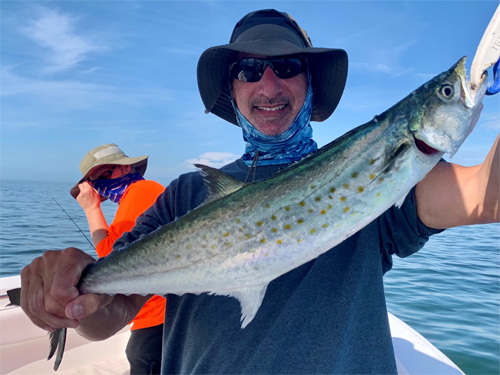
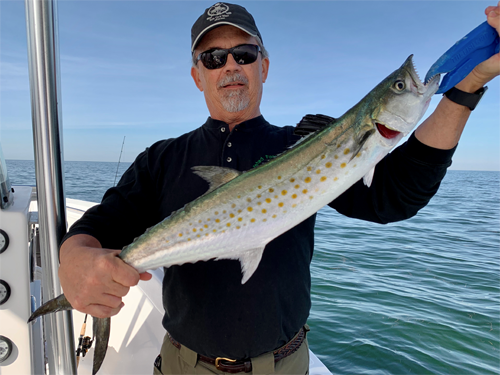
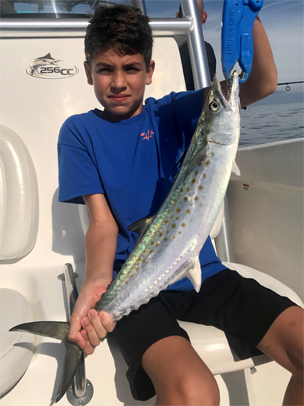
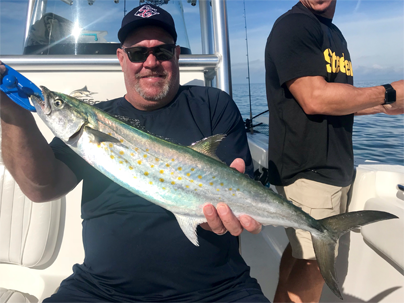
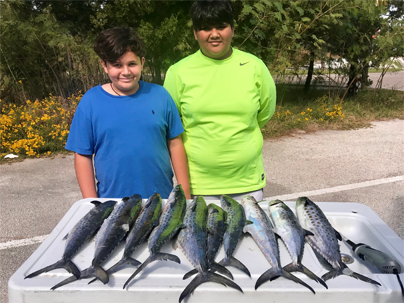
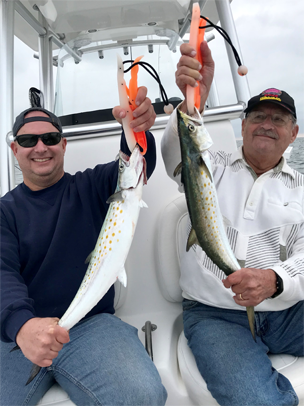
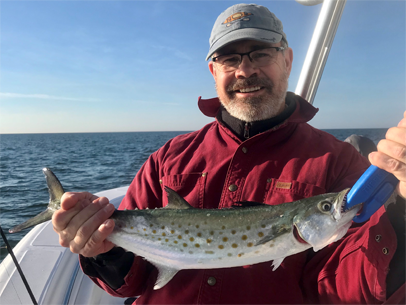
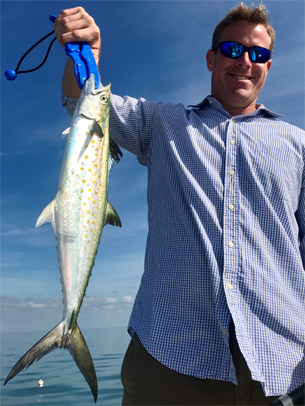
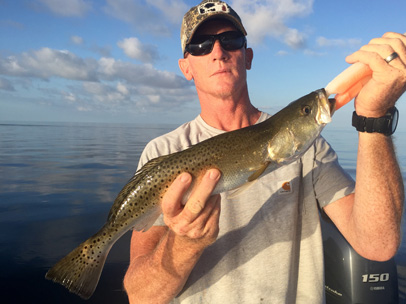
Steve Nelson & company had a really fun day Inshore flats fishing!
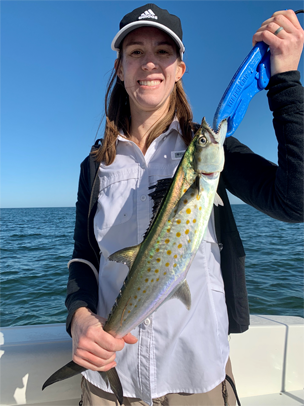
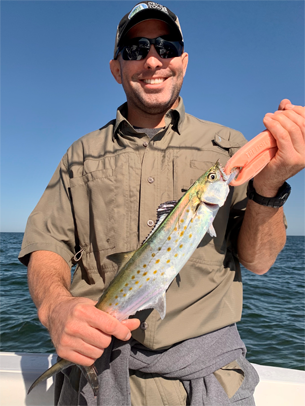
Here is one picture of one of the really nice Spanish mackerel's they caught that day!
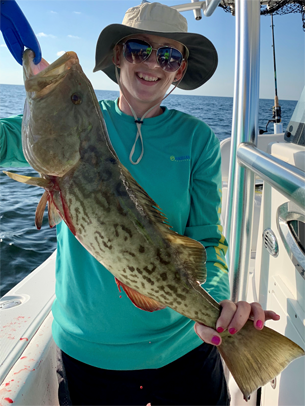
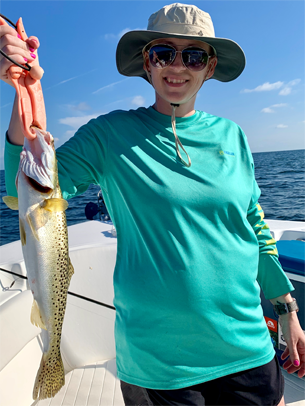
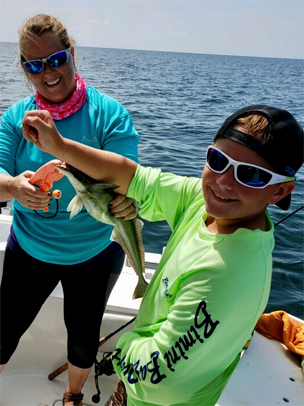
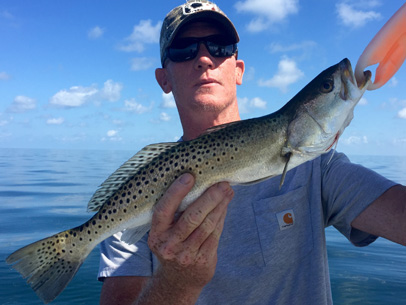
Mel & family came back to see us again and had a super fun day Inshore flats fishing!
Here is just a couple of pictures of their fun day fishing!

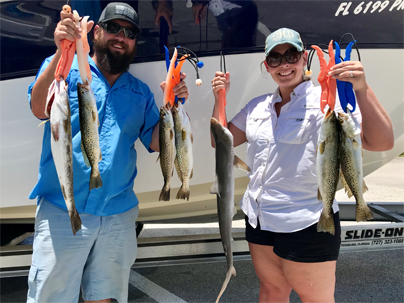
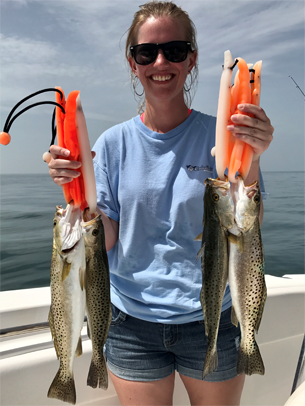
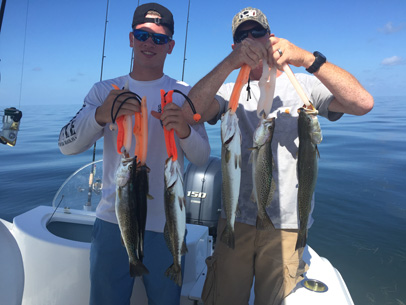
Kevin & Kerry had a really fun day Inshore flats fishing! They caught many fish to include: Spotted Sea Trout, Spanish Mackerel, Black Sea Bass & Gag Grouper!
Here's just a few pictures of their fun day fishing!
John & company had a really fun day Inshore flats fishing!
Here is just a couple of pictures of their fun day fishing!

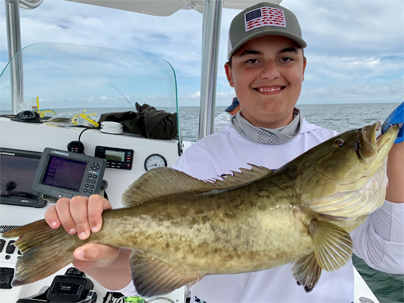
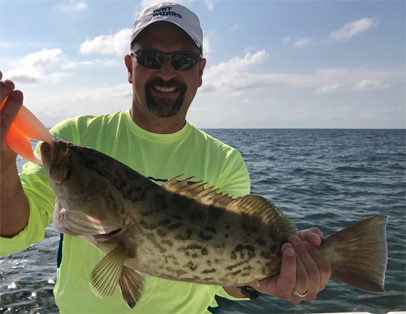
John & company had a really fun day Inshore flats fishing!
Here is one picture of one of the really nice Gag Groupers he caught that day!

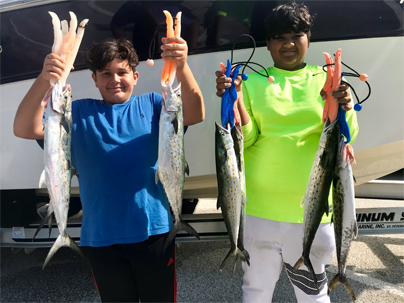
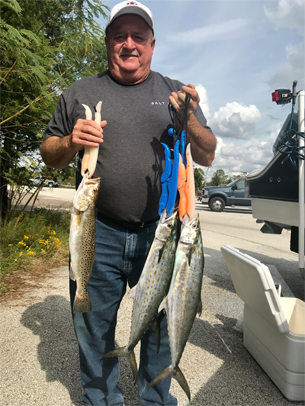
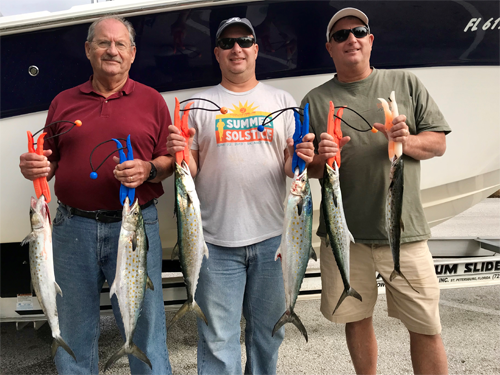
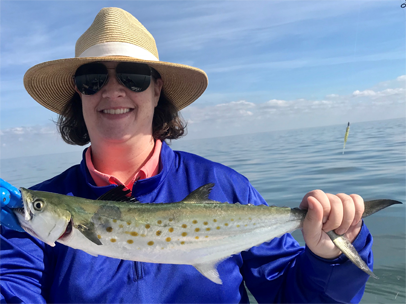
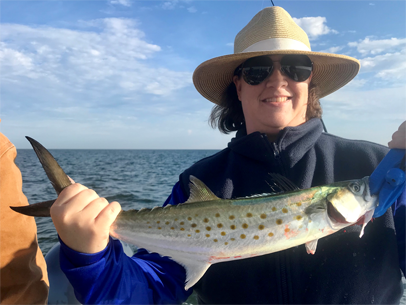
John & company had a really exciting day Inshore Flats Fishing w/his family catching a bunch of Spanish Mackerel for dinner! Best of all... we got a couple really nice gags!
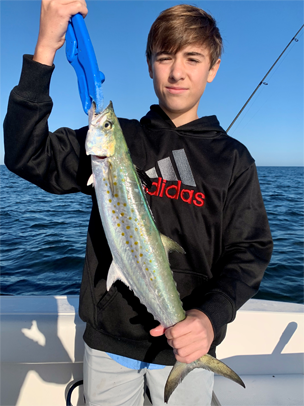
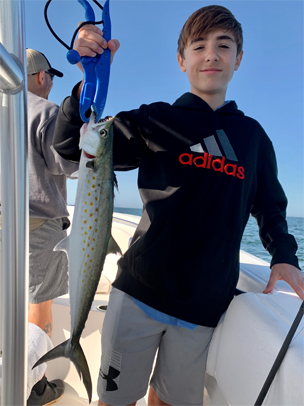
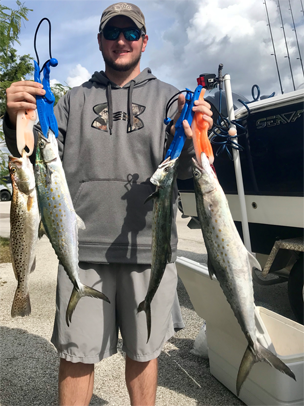
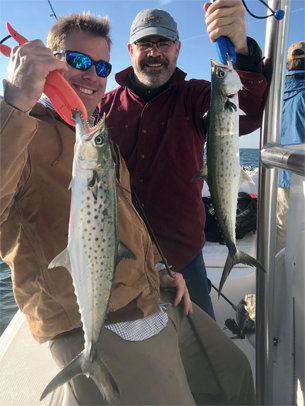
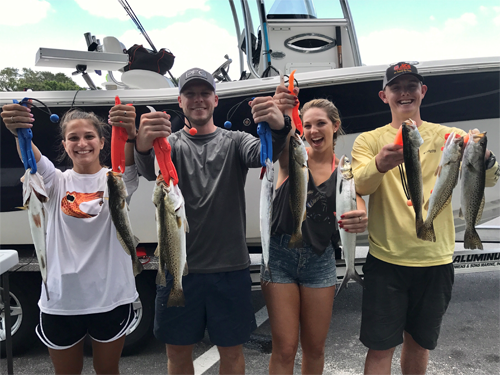
Blake & company had a really exciting day Inshore Flats Fishing w/his family catching a bunch of Spanish Mackerel for dinner! Best of all... we ran out of fish grippers!
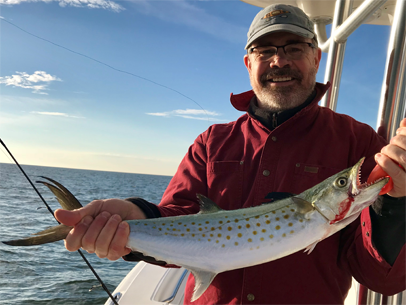
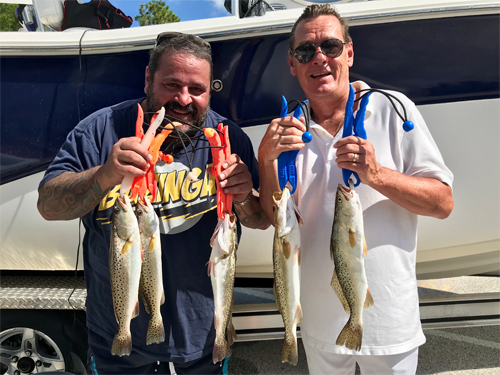
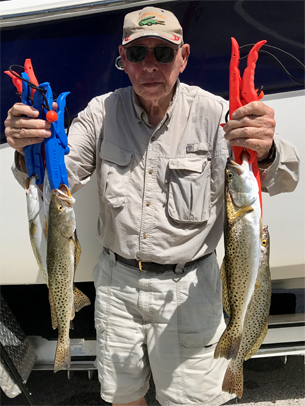
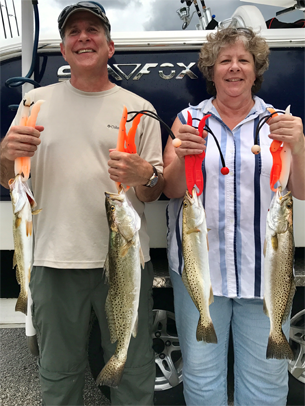
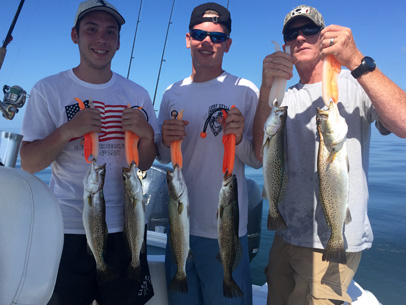
Dan & company had such a blast with the Spanish Mackerel & Spotted Sea Trout on their Inshore Flats Fishing Trip that we ran out of fish grippers!
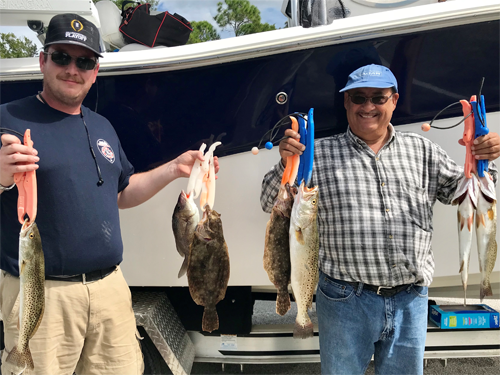
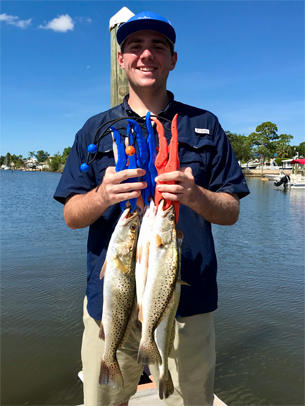
Joshua & company had a really fun day Inshore Flats Fishing catching a bunch nice size Spotted Sea Trout plus some really nice size Flounders as well for dinner!
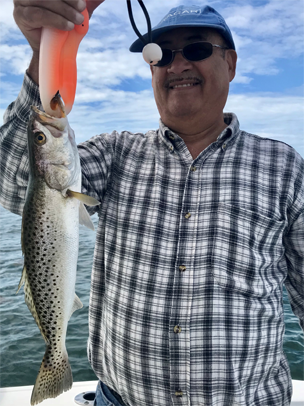
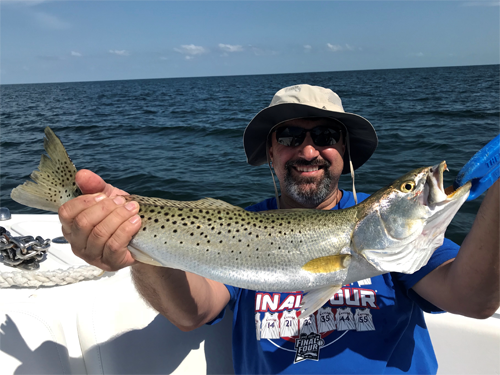
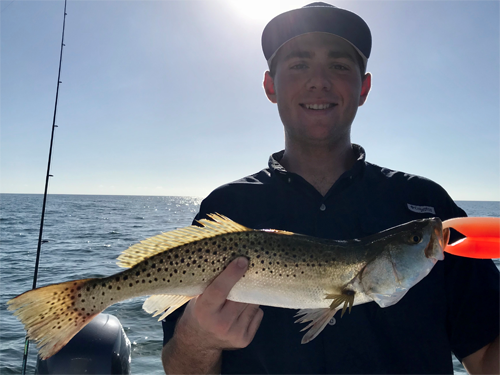
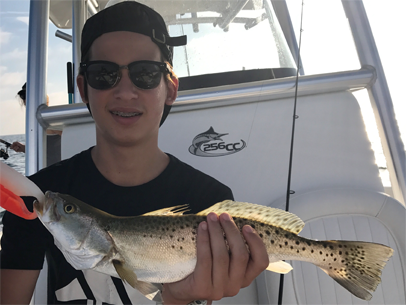
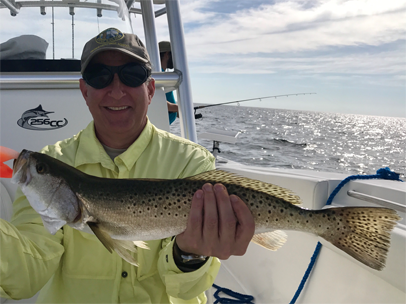
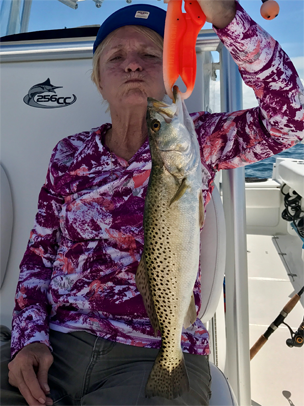
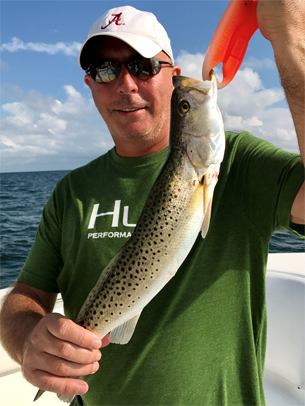
Dave & company had some fun Inshore Flats Fishing catching a variety of fish! Here is one picture of some of the nice size 20+ inch Spotted Sea Trout caught that day!
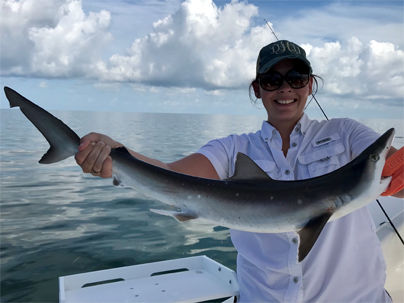
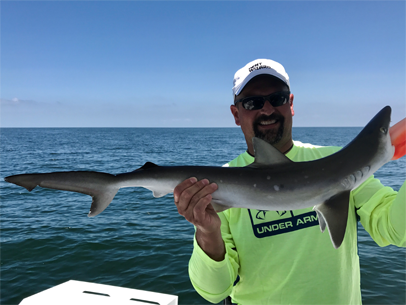
Deirdre & her family had a really fun day Inshore Flats Fishing catching many Spotted Sea Trout for dinner, five Atlantic Sharpnose Sharks & a friendly Remora!
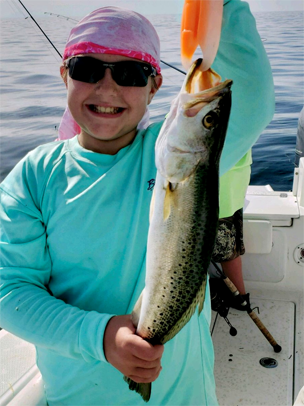
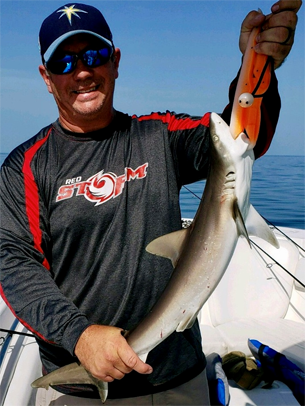
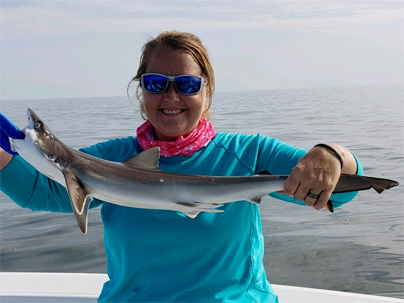
Justin & Deana had a really fun day Inshore Flats Fishing catching many Spotted Sea Trout for dinner, Black Sea Bass, Grouper & a nice Atlantic Sharpnose Shark!
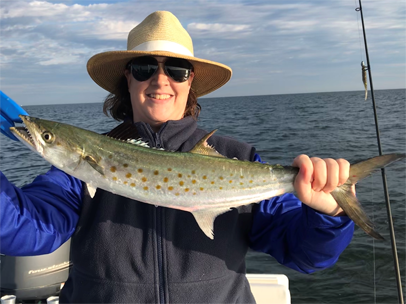
Don & company had a really exciting day Inshore Flats Fishing w/his family catching a bunch of Spanish Mackerel for dinner! Best of all... we ran out of fish grippers!
Charles Lockhart & company had a blast with the Spanish Mackerel on their Inshore Flats Fishing Trip catching so many mackerel... we ran out of fish grippers yet again!

Tommy had a blast Inshore Flats Fishing catching a variety of fish including Spanish Mackerel, Ladyfish & more than his his limit of Spotted Sea Trout & Black Sea Bass!
Fred & company had a fun day Inshore Flats Fishing in October catching some really nice Spotted Sea Trout & Black Sea Bass for dinner!
Arthur Testoff at the young age of 91 had a really fun day Inshore Flats Fishing catching about 30+ Trout along with his limit of (5) Spotted Sea Trout for dinner including many Gag grouper, Lady Fish & Sea Bass!
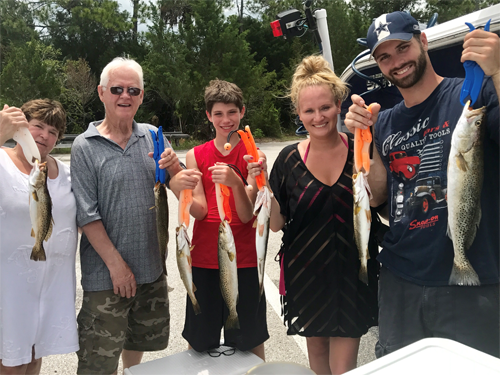
Julia & company had a really fun day Inshore Flats Fishing w/her family catching many Spotted Sea Trout, Spanish Mackerel & Black Sea Bass for dinner!
Larry & company had a fun day Inshore Flats Fishing w/his family catching many Spotted Sea Trout & Black Sea Bass for dinner!
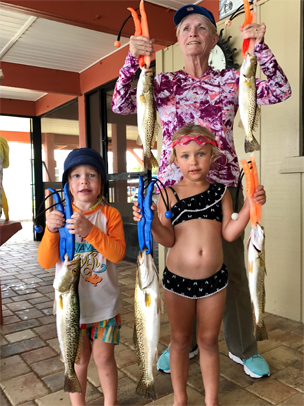
Christie & company had a fun day Inshore Flats Fishing w/her family catching many Spotted Sea Trout for dinner along with Gag Grouper, Sea Bass & Ladyfish!


Rob & company came back a 3rd time & had a fun day Inshore Flats Fishing catching many beautiful Spotted Sea Trout, Black Sea Bass & Gag Grouper!
Chris & company had a fun day Inshore Flats Fishing w/his family catching many Spotted Sea Trout for dinner along with Gag Grouper & Sharks!
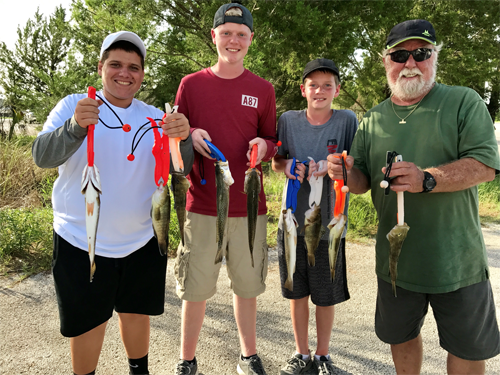
Lloyd & company ran out of my fish grippers to use today catching many Spotted Sea Trout & Black Sea Bass for dinner along w/ Lady Fish, Gag Grouper & Shark!
Nicole & company had a fun day Inshore Flats Fishing today catching many Spotted Sea Trout, Spanish Mackerel, Black Sea Bass, Lady Fish & Gag Grouper!
Here's a few pictures of Todd & company having a fun day Inshore Fishing the flats catching some really nice Gag Groupers, Spotted Sea Trout & Sharks!
Jessie & company had a fun day inshore batteling a bunch of Spotted Sea Trout!

| INSHORE FLATS FISHING | DEEP SEA FISHING | SCALLOP SEASON | TARPON FISHING |
| HUDSON BEACH FISHING | TAMPA BAY FISHING | ORLANDO FISHING | BASS FISHING |
| OCALA FISHING | CRYSTAL RIVER & HOMOSASSA FISHING | TARPON SPRINGS FISHING |
|
|---|